Measuring time
1. Adding a Stopwatch
Click on the Stopwatch button of the drawings tool bar : 
Click anywhere on the image to add the Stopwatch.
The Stopwatch will be visible from this image, forward.
You can change background color and font size through the configuration dialog box.
 You can resize the Stopwatch label by dragging the lower right corner away or by changing the font size in the configuration dialog.
2. Measuring a timeframe
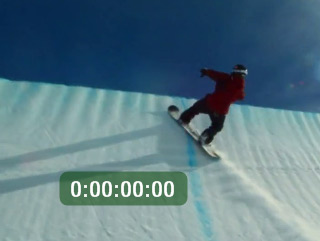
As long as you do not start the counter, the Stopwatch displays zero.
Note: The time representation depends on global configuration.
Check the Preferences topic to read more about the various time representations formats.
To measure the duration of an event:
- Move to the start of the event, right-click the Stopwatch and use the menu Start Stopwatch.
- Move to the end of the event, right-click the Stopwatch and use the menu Stop Stopwatch.
The last value displayed on the Stopwatch represent the event duration.
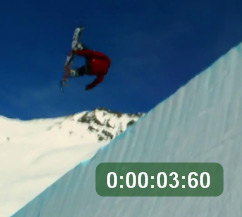
This value stays visible after the Stopwatch has stopped.
You can hide the Stopwatch after the measured event, use the Hide Stopwatch menu.
The stopwatch will then be only visible between the frame you added it and this last frame.
To permanently delete the Stopwatch, right-click it and use menu Delete Stopwatch menu.
3. Identifying Stopwatches
When you add several Stopwatches to measure simultaneous events, it is interesting to be able to identify easily which timed value is associated with each event.
A first approach is to use color coding: associate each event with a color and use it as the Stopwatch color.
You can also identify the Stopwatch using the Label property.
To modify color and label, right-click the Stopwatch and use menu Configuration

See also: